Toolbox: Neck and upper back tightness on the road? With a basic band and wall, take big steps towards getting yourself out of pain and back into enjoying your ride!

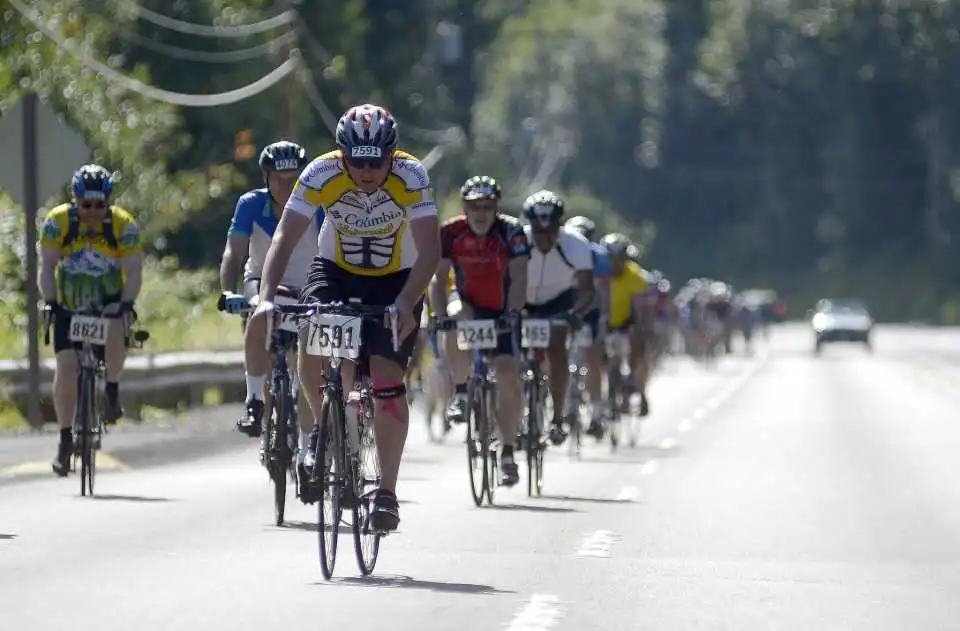
As we head into the warmer summer days, and more states begin to allow outdoor exercise again, many of us begin to get that all too familiar upper back and neck tightness, as we make the shift off the trainer, and out on the road. While there are a number of possible causes of the pain/ discomfort, one common theme we see across cyclists of all ages, riding types, and fitness levels, is a loss of strength in the upper back and posterior (rear) shoulder.
In the human body we have 2 sets of ball and socket joints: 1 being the hip, and the other being the shoulder. These joints allow for an incredible array of movements, but also require a bit of “upkeep” to maintain a healthy, properly functioning joint. However, as cyclists who spend much of our time hunched over a pair of handlebars with around 35-40% of our weight on our hands, this often leads to the muscles on the upper back and shoulder becoming elongated and relatively weak. (As an aside, if your hands have less or more of your weight on them, based solely on your “feel”, it’s time to get a proper bike fit!).
Many cyclists tend to try to “simply” stretch the pain away. While this may alleviate the SYMPTOMS for 10-20 minutes, it can actually lead to an accelerated path to injuries such as frozen shoulder, and even thoracic outlet syndrome.
What Do You Need to Get Out of Pain?
First off, if you’re experiencing numbness, tingling, loss of sensation, or a burning sensation in your neck, shoulders, arms, or hands, you should stop reading this and immediately make an appointment to see a physical therapist for an assessment. These are signs that you need to be treated by a clinician ASAP.
If you’re limited to pain or discomfort on the bike that immediately stops or dissipates as soon as you change positions or get off the bike, I’d still suggest you see a physical therapist for an evaluation. However, you may be able to start with these 2 exercises, so long as they are pain-free, and do not cause any issues or recurrence of your symptoms.
To get out of pain, one of the first things we need to do, is to begin to open up tight muscles by helping them to release. This can be done with some basic foam rolling, but should be limited to a TOTAL of 3-6 minutes.
[embedded content]
One Arm Lat Stretch With Breathing
Once we have that done, we can then move to our next “release”, which for today’s purpose is a 1 arm lat stretch with breathing.
[embedded content]
For the 1 arm lat stretch with breathing we want to focus on keeping our arm, shoulder, and back RELAXED, while we breathe into the shoulder and mid-back on each breath. Follow the cues given in the video, and perform just 1 set of 3-5 deep, slow breaths, each side.
Band Pull Aparts
Next, we want to create full-body stiffness, while we learn how to move the shoulder as a ball and socket joint. For this exercise we’ll need a LIGHT band (rated 10-25% of resistance), as the focus of this exercise is:
- Posture: ribs down, abs active, glutes fired, feet connected to the floor.
- Rotating the “ball in the socket” while keeping the elbows straight.
- Chin tucked and back, eyes forward.
- SLOWLY returning to the starting position.
This is simple, but not easy!
Take your time to get the band pull-apart executed properly. It may take you a few sessions to get more than 2-3 repetitions (done properly) in a set. That is ok! This exercise is all about learning how to fire the correct muscles, and firing up muscles that we have neglected to train properly due to our sport.
Start off with 2-3 sets of 2-4 repetitions done properly, and as you’re able to work up to 2-3 sets of 12-15 repetitions with GREAT positioning, form, and full-body stiffness.
[embedded content]
Wall Angels
Lastly, we’ll move on to the Wall scapular slides, also called “Wall angels”.
Again, this exercise will NOT have its desired or intended effect if you rush through it and don’t pay attention to the positioning, technique, and which muscles you’re using.
It’s not uncommon for riders (and triathletes as well!) to find that when they set up for this movement properly, and use the correct muscles, that they can barely get 1-2 inches of movement!
For Wall angel’s we want your feet and knees together, feet around 6-10 inches away from the wall, sitting down in just enough of a squat that you can keep your toes UP and knees SQUEEZED together, ribs down, and your entire spine against the wall.
For cyclists and triathletes that last part may be impossible, as you may find that either your lower back OR your head can touch the wall, but not both together. If that is the case, keep the lower back to mid-back against the wall, while you keep the chin tucked back and head back as close to the wall as you can, while pressing the back of your shoulders, upper arms, and forearms against the wall.
Over time, your hands and forearms should be able to get to the wall, but that will come with time.
To begin the movement make sure your entire spine is pressed against the wall, with your “belt buckle up towards your nose”, with your knees and feet squeezed together.
Then, pressing the elbow, upper arm, and rear shoulder ACTIVELY into the wall, try to use the muscles between your shoulder blades to push the elbows up towards the ceiling while staying flush on the wall.
Don’t poke your head or chin forward.
Begin with 2-4 sets of 1-3 repetitions, and build up to 2-3 sets of 12 repetitions over time.
[embedded content]
Summary
These 3 exercises are simple, but not easy, and by performing them in this order over time, being careful to pay attention to your postures, breathing, and WHERE/HOW you execute the movements, will help you to get out of pain, and back to riding strong.
Week 1 perform this routine BEFORE your rides 2-3 days in that week ( with 1 day “off” in between)
Weeks 2-4 perform 3-4 days a week. You may do 2 days back to back
Weeks 5-8 you can perform these 4-5 days a week, so long as you are pain free/ ache and soreness free.

Want More Help?
If you’re looking for help with lower back pain and discomfort, I am looking for 4-6 cyclists and triathletes to work through the newly updated Better Back & Hips program beginning in July 2020. I’ve spent the last few months updating the program, and it has been extended from 8 weeks out to 10. This small group of “update testers” will have more 1 on 1 calls with me, as well as be given a significant discount from the regular price, as you’ll help me work out any wrinkles in the updates, and will be giving a testimonial at the end of the program.
If this sounds like something you’re interested in, send me an email at [email protected] [email protected] with the subject “Better Back v3.0” and we’ll set up a call to see if it’s a good fit for your needs. The program will start early July 2020.
As always, remember to train smarter, NOT harder. And it is all about you!
